When it’s time to embrace solar power, connecting a solar panel to a charge controller is like introducing your heart to its beat. In the world of renewable energy, this connection doesn’t just matter; it’s critical.
I’m here to ensure that you nail this Charge Controller Installation without a hitch, protecting your investment and powering your world with the sun’s endless energy. Imagine securing those connections with ease – total peace of mind in the palm of your hands.
To successfully connect a solar panel to a charge controller, first ensure all safety protocols are in place. Begin by connecting the battery to the controller ensuring it is switched off – think of it as setting up the foundation for your solar energy system.
Then attach MC4 adapter cables from your photovoltaic panel to the charge controller. Finally, align everything correctly and test your setup for that sweet spot where everything works in harmony with nature.
What You’ll Learn Here
- Simple steps for stress-free solar panel connection
- Key Tips on Charge Controller Setup
- How-tos on safeguarding Solar Energy Systems
- Essential tricks for swift Photovoltaic Panel Connection
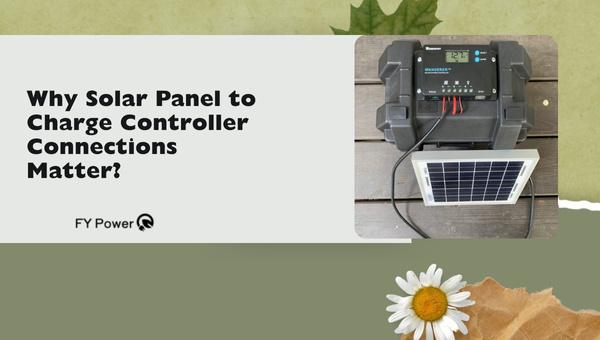
Why do Solar Panels to Charge Controller Connections Matter?
When I set up my solar panels, I knew they weren’t just to soak up the sun and make power right away. They needed a kind of middleman to manage how that power is used. That’s where the charge controller comes into play, like a wise referee in the game of solar energy.
The Role in Solar Energy Systems
Now let me tell you why exactly these connections matter big time within your whole solar system:
- Preventing Overcharging: Without a charge controller hooked up correctly, your precious batteries could get too much juice when they don’t need it.
- Avoiding Total Drain: Similarly, without its watchful eye making sure not all power gets used up at once leaving nothing for later.
- Proper Power Distribution: This smart device sees when and where power should go once it comes from those sunny rays hitting your panels.
- Keeps an Eye on Health: Like checking the temperature with a thermometer, this gadget checks how hot or cold the battery gets so things stay safe.
- Smart Energy Use: On cloudy days when sunlight plays hide-and-seek, charge controllers make sure whatever little light turns into energy goes to good use.
- Longer Life Span: All the above points come down to one big win – making everything last longer because no part is strained more than what it can handle.
Preparing for Charge Controller Installation
When preparing for charge controller installation, it’s mandatory to read the manufacturer’s manual thoroughly. Ensure you have all the necessary tools and components on hand. Begin by determining an appropriate location for the charge controller, close to the battery bank but away from direct heat sources.
Securely mount the controller and confirm that the wiring pathway from the solar panels to the controller and from the controller to the battery bank is clear and safe for connection.
Safety Comes First
Before starting with charge controller installation, safety must come first. Here’s what I do to make sure everything is safe:
- Turn Off Power: I always make sure that the power from the solar panels is off. This stops electricity from flowing.
- Use Proper Gear: I wear safety gloves and protective eyewear.
- Dry Environment: I work in a dry place to stop any chance of getting a shock.
- Check Equipment: Before anything, I look over all equipment to see it’s in good shape and no wires are bare.
Following these steps keeps me and my workspace safe.
Materials You Will Need
For a successful setup, here are the items you should gather:
- Solar Panels: These capture sunlight.
- Charge Controller: This device controls the power going to batteries.
- Batteries: Where the energy gets stored.
- Cables and Wires: For making connections between devices.
Having all these materials ready means no last-minute surprises.
Tools Essential for Installing Your Charge Controller
The right tools make installation easy and efficient. Here’s what I use:
- Wire Strippers: To strip insulation off cables without damage.
- Screwdrivers: They fit screws on terminal blocks of charge controllers and other gear.
- Wrench Set: Sometimes needed for tight bolts especially on battery terminals.
- Multimeter: Good for checking voltages to be sure everything’s working as it should.
Step 1: Connect the Battery to the Charge Controller
When I’m setting up a solar energy system, the charge controller installation is a key step. It’s like a guardian that keeps the power from your panels safe for your batteries. It’s really important to get it right, and safety comes first here.
Initiating With Safe Practices
Before I even touch anything, I make sure everything is powered off. No lights on, no power running through. Safety gear is a must – so gloves and eye protection are on me at all times. Next, I check out the battery and controller manuals because they tell me how they like to be connected – some have their quirks!
Detailed Connection Procedures
Here’s how I do it step by step:
- First off, power down both the solar panel system and the battery.
- I got my insulated tools ready – that way there’s no risk of shock.
- Positive first – attach the red or positive cable from the battery to the positive in on the controller.
- Then it’s time for negative – secure the black or negative cable from the battery to the negative in on charge controller.
- A snug fit’s what you’re after with those connections; nothing should be loose.
Taking care when doing these steps makes sure nothing goes wrong later on.
Also Read: Choosing the Best Oil for Your Generator
Step 2: Connect the MC4 Solar Adapter Cables to the Solar Panel
Now let’s talk about MC4 connectors; these bad boys make connecting panels as easy as plugging in a TV!
Identifying Your Adapters and Panels
MC4s are universal solar cable connectors – almost like LEGO pieces for your panel wires! They’re typically marked plus (+) for positive and minus (-) for negative.
Secure Connections Ensuring Efficiency
Alright:
- Make certain that all systems stay shut off while working.
- Find positive and negative wires on the back of the solar panel – look out for + or – signs near terminals.
- Take MC4 adapter cables; line up the male connector with the female connector – just match colors or signs if unsure!
- Push them together till you feel it click – that means you’ve made a secure connection between your solar panel connection and charge controller setup.
With these tight connections, you’ve set yourself up well for efficient energy flow!
Also Read: How does an Inverter Generator Work?
Step 3: Finalizing Your Setup – The Solar Panel & Its Relation To The Charger
Almost done now! We need to double-check our work.
Ensuring Correct Orientation
For photovoltaic panels, facing them right means everything! It determines how much juice they catch:
- Angle matters – tilt them towards where the sun hangs around mostly during the daytime.
- Check compass direction; south-facing racks up those sunny hours best in most regions.
Getting this part right translates into maximum power pulled down from our friendly neighborhood star!
Testing Your Connection
Last but most crucially:
1. Flip the switch gently back on at your charge controller setup.
2.. Keep an eye on indicators; glowing lights mean we’re good!
3. If things seem quiet… go back over steps ensuring nothing’s missed out.
This last piece of charge controller installation makes sure all efforts don’t go wasted after sunset hits our horizon!
Also Read: LiFePO4 Batteries: Solar Panel Charging Simplified
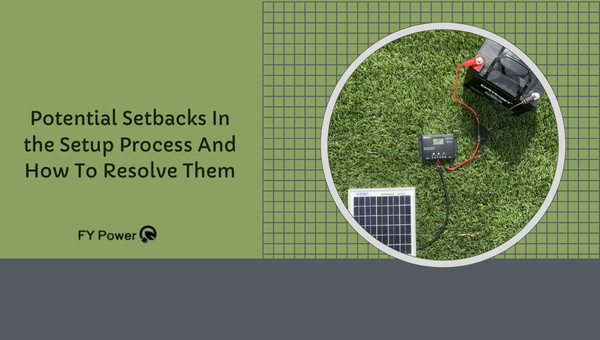
Potential Setbacks In the Setup Process And How To Resolve Them?
When setting up a new system, common setbacks include technical glitches, compatibility issues, and user errors. To overcome these, thorough planning is necessary. This involves hardware and software compatibility checks, clear user instructions, and reliable technical support.
Proactive troubleshooting, routine testing of equipment, and ensuring adequate training for all users are also crucial to resolving any potential setbacks efficiently.
Common Mistakes During Installation
When folks put together their solar setups with a Charge Controller, sometimes things don’t go as planned. I’ve seen a few slip-ups more often than others, which can mess up the whole process if they’re not caught in time.
- Mixing Up Wires: People sometimes get positive and negative wires mixed up. That can be bad news for your electronics.
- Skimping on Wiring: Using wires that are too thin can lead to big trouble like overheating or even fire hazards.
- Ignoring the Manual: Not all charge controllers work the same way, so if you skip reading the manual, you could end up scratching your head, wondering why things aren’t working right.
- Tightening Too Much or Too Little: Connections that are too tight can damage cables; too loose, and you’ll get weak power or none at all.
To avoid these mistakes:
- Always double-check which wire is positive (usually red) and which is negative (commonly black).
- Buy quality cables that match the recommended thickness for your setup.
- Take your time to read through and understand your charge controller’s manual—it’s golden!
- Secure connections firmly but gently; it’s not a wrestling match.
Troubleshooting Issues
Now let’s say you’ve got everything connected but something’s not working right—don’t worry; I’ve got some tips to help you figure out what might be going off track:
- The System Won’t Power Up:
- Check if all connections are secure.
- Look at the battery charge state—it might simply need charging!
- Controller Isn’t Charging The Battery:
- See if there’s sunlight hitting your panels—no light, no power!
- Make sure nothing’s blocking the solar panels like shade or dirt.
- Flickering Lights or Unstable Power:
- This could mean loose connections—tighten them up just right.
- Your battery might be old or damaged; inspect its healthiness.
When something seems off:
- Start simple: verify every cable connection from start to finish.
- If lights indicate an error on the controller, compare them to your manual; those little lights are trying to tell you what’s wrong!
- Sometimes turning everything off and on again helps—really!
FAQs
What should I look out for when choosing a charge controller?
When picking out a charge controller, make sure it matches your solar panel’s voltage and current output. Also, consider whether you need a PWM or MPPT type, as they manage power differently.
Can I connect multiple solar panels to one charge controller?
Yes, several solar panels can be connected to one charge controller as long as the combined voltage and current do not exceed the controller’s maximum input ratings.
What happens if my connection isn’t secure?
An insecure connection may cause electrical faults, reduce the efficiency of your solar energy system, or even damage your equipment. Ensure all links are tight and correctly insulated to avoid these risks.
Conclusion
The journey to successful charge controller installation might seem intimidating, but it’s quite manageable with the right approach and understanding. I’ve walked you through each step carefully, from learning the purpose of charge controllers to the final checks you should perform. Solar energy harnessed correctly not only benefits us but also contributes to a sustainable future.
Key Takeaway Points
- Understand your charge controller’s pivotal role in protecting batteries.
- Always prioritize safety while handling solar equipment.
- Gather all necessary materials and tools before beginning.
- Follow detailed step-by-step procedures for each connection stage.
- Troubleshoot effectively by recognizing common mistakes early on