Setting up your first solar panel system can feel like you’re stepping into a future filled with bright, sun-powered possibilities! It’s a move that can shrink your energy bills and grow your home’s green credentials in one fell swoop.
But diving into the world of solar energy for beginners might seem a bit daunting – wires, panels, inverters – oh my! Don’t worry; I’m here to walk you through every step with simple terms and big-time energy savings.
So, how do you set up your first solar panel system? You’ll want to start by understanding the basics: choosing the right location, selecting suitable panels, and getting familiar with all necessary gear.
From there, it’s all about safely securing your panels in place and hooking them up to harness that glorious sunshine. With my guide, you’ll learn not just to install but also how to get every ounce of power from each ray of light.
What You Love Finding Out Here
- Clear-cut steps are simplified for any beginner
- Money-saving tips on DIY solar panel installation
- Pointers on ensuring peak performance from your new solar setup
- Stay-out-of-trouble tricks during your first-time setup
Solar Panel Installation Basics
Installing solar panels typically begins with an assessment to determine the best location, angle, and size system for your property. Professional installers then mount panels onto the roof or ground, ensuring they are securely attached and properly aligned.
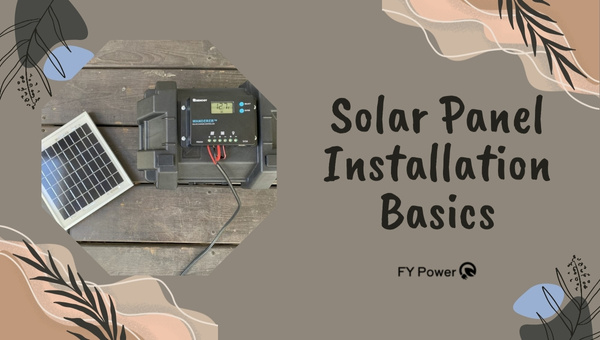
Wiring connects the panels to an inverter, transforming the generated DC electricity into AC power for home or grid use. Installations must comply with local regulations, safety standards, and electrical codes.
Understanding How Solar Panels Work?
Let me tell you how solar panels can take sunshine and make power for your house or any place. It really is quite cool. Panels are made up of many little parts called photovoltaic cells – think of them like bits that love sunlight. They grab light from the sun and use it to make electricity.
Here’s what happens step by step:
- Sunlight hits the solar panel: The bright light from the sun comes down and lands on your solar panels up on the roof.
- Photovoltaic cells get busy: These tiny cells are like magic – they take in the sunlight and turn it into direct current (DC) electricity.
- Electricity gets transformed: Our houses need a different kind of electricity called alternating current (AC), so a gadget named an inverter changes the DC into AC.
- Power flows to your home: Now that the electricity is right, it goes straight into your home, feeding your lights, fridge, TV, and all that stuff with power!
It’s a smart way to make power right on top of your house without hurting our planet.
Preparing for Your First Installation
Before you bring home those shiny panels, here’s what you have to do first.
- Check out where to put them:
- Look around for a good spot where they can see lots of sun – usually up high on your roof works great.
- You want them facing just right so they catch as much sun as they can throughout the day.
- Take a good look at your roof:
- Make sure it’s strong enough to hold up those solar panels – they aren’t light as feathers!
- The roof should be in tip-top shape; no wobbly tiles or leaks because once those panels go up, fixing stuff underneath is going to be really hard.
- Know what rules to follow:
- Some places have special rules for putting up solar panels, so you’ve got to know these before starting.
- You might need to ask someone official if it’s okay (get a permit) or check with others living near you if they don’t mind.
- Figure out if you can spend less money:
- Sometimes there are sweet deals or help from governments when you choose clean energy like solar; worth looking for that!
Doing this prep work means no nasty surprises later on when you’re all set to make clean energy at home with those awesome sunshine-loving panels.
Also Read: LiFePO4 Batteries: Solar Panel Charging Simplified
Step-by-step Guide to Installing Solar Panels
When you’re ready to dive into the world of solar energy, the first big task is setting up your very own solar power system. Let’s break down each step one by one, so you know exactly what tools you need and how to make your solar panel installation a success.
Step 1: Assembling Necessary Materials & Tools
Before we start banging on rooftops or digging in the dirt, I need to gather all my gear for this solar panel adventure. You wouldn’t bake a cake without flour or eggs, right? So here’s what I need for this recipe:
- Solar Panels: These are the stars of the show; they catch sunlight and turn it into power.
- Inverters: This widget takes the power from the sun that’s all wild and turns it into electricity that plays nice with our home appliances.
- Charge Controllers: Imagine these as bouncers at a club; they keep the battery from getting too full or empty.
- Batteries: Where we store all that sunny goodness for a rainy day.
- Racking system: This is basically the bed where my solar panels will sleep on either my roof or ground mount.
- Wiring and connectors: My trusty messengers run between my panels, inverter, and other gadgets.
- Safety equipment: Don’t forget your gloves, hard helmet, and safety glasses! Safety first!
Step 2: Safely Mounting Your Panels
Now that we have our toolbox ready let’s get those panels up there safely:
- Find just the right spot: It should be sunny most times because shade is not our friend here. If I’m going rooftop, I’ll make sure that roof can handle it both physically and legally (remember those permits).
- Set up my racking system securely: Whether it’s on legs in my yard or hugging my roofline, it needs to be bolt-solid because no one likes a runaway solar panel!
- Lift those panels with care (and probably some help): No scratches please; these things are sensitive!
- Bolt them tight: We’re talking locked-in so the wind won’t whisk them away.
Step 3: Electrical Connections Made Simple
Here comes Mr. Electricity’s part in our beginner-friendly guide to plug-and-play with Mother Nature:
- Map out your wiring scheme beforehand – planning saves headaches later.
- Connect those panels together: It’s like stringing Christmas lights but more sunlight and less tangle-prone.
- Hook up your charge controller next right between those precious batteries and the assembly line of panels churning out voltage candy from sunlight.
- Run cables down to your inverter – here comes regular old electricity ready for pop tarts in toaster or late-night TV!
- Double-check each connection; is everything snug and tidy?
You better believe safety checks are key at every step along this electric avenue! Before hitting “ON,” we whisper a little mantra; “No zap today.”
And there you have it! My own slice of sun-to-power magic sitting pretty either on terra firma below me or gleaming gently atop where Santa visits.
Remember making sure everything stays dry and out of harm’s way goes without saying – no sparks fly tonight! Installing those guards against mischievous children poking about might be smart too.
Setting up solar myself may seem like climbing Everest at sunrise but look at me go — nailing down step by solid step!
Also Read: Who Makes Westinghouse Generators and Where?
Testing Your Newly Installed Solar Panels
After setting up my solar panels, I always make sure to test them before having them go live. It’s a critical step—I mean, you wouldn’t drive a car without checking if the brakes work, would you? Here’s what I look into:
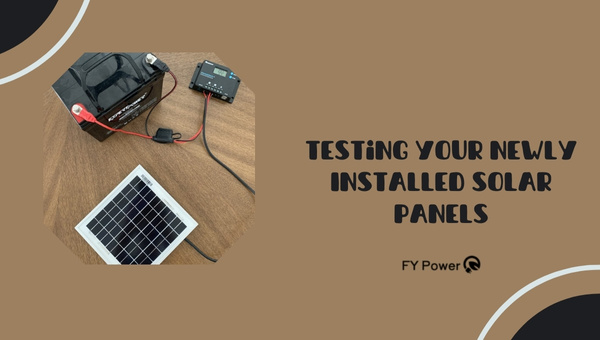
Initial Inspection & Precautions
Once I am done with the solar panel installation, before turning everything on, I carry out a list of checks for safety and to ensure that all is well. These include:
- Visual Inspection: Look at all the panels to make sure they’re not damaged and are properly mounted.
- Wiring Check: Double-check that all wiring is secure and correctly placed—no loose ends!
- Connections Test: Ensure each connection point is tight and corrosion-free.
- Inverter Review: Examine the inverter display for any error messages or lights that suggest a problem.
- Mounting Check: Verify that the mounting system has no loose bolts or structural issues.
Doing this helps prevent any accidents or damage when it’s time to power up.
Troubleshooting Common Hurdles
When I started working with solar panels, I hit some potholes along the way. Here’s what often pops up:
- No Power Production: Sometimes nothing happens when you flick the switch—usually because of a poor connection somewhere.
- Low Power Output: If there’s power, but not enough, it could be because of shading over your panels or incorrect wiring.
- Inconsistent Power Supply: This can happen if your batteries (if you use them) are failing or if there’s an issue with your charge controller.
- Error Messages on Inverter: These need immediate attention as they could signal something seriously wrong in your setup.
Whenever these issues crop up, keeping calm is key—most problems have simple solutions like removing shade obstructions or tightening connections!
Maximizing Efficiency After Installation
Maximizing efficiency after installation is crucial in any system or process. It involves identifying potential bottlenecks or areas of improvement and implementing measures to enhance productivity. This can include optimizing workflow, utilizing new technologies, training employees, or streamlining operations.
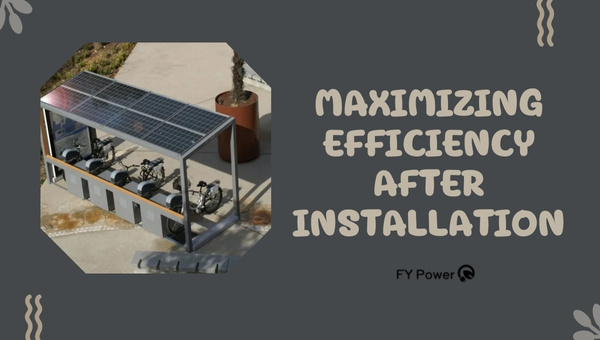
By continually striving for efficiency, organizations can increase productivity, reduce costs, and achieve better overall performance.
Maintaining Your Panels
Maintaining solar energy systems isn’t rocket science; follow these steps regularly:
- Clean Panels: Dust off dirt that blocks sunlight—I aim for at least twice a year.
- Inspect Wiring: Animals love biting wires; check annually to spot any gnaw marks before they cause trouble!
- Tree Trimming: Keep shadows away by cutting back overhanging branches that might shade your panels during certain times of the day.
It isn’t only about installing; maintenance counts big time towards efficiency in the long-term performance of my solar setup!
And there we have it! By sticking to these guidelines, making sure everything works perfectly feels less like another chore and more like preserving my own piece of sunshine-powered heaven on earth.
Also Read: Crimping MC4 Solar Connectors: Detailed Guide in 7 Steps
FAQs
Do Solar Panels Work on Cloudy Days, and How Does This Affect Installation?
Yes, solar panels can still generate electricity on cloudy days but at reduced efficiency. Clouds affect the amount of sunlight reaching the panels. Your installation will be the same, just make sure to plan for panel placement that captures as much light as possible.
How Long Will My Solar Panel System Last After Installation?
A solar panel system typically lasts around 25 to 30 years after installation. With proper care and maintenance, some methods can continue operating efficiently beyond that time frame.
Can I Install Solar Panels Myself or Should I Hire a Professional?
While DIY solar panel installation is possible, it requires technical knowledge and experience with electrical systems. For safety and optimum performance, it’s often recommended to hire a professional for solar panel installation.
Conclusion
I hope this guide has been light on your path to harnessing the sun’s power through your first solar panel system. Remember, patience and careful attention to each step can make a significant difference in not just the setup but also in the performance of your solar panels.
If you’re ever unsure or hit a bump along this journey, don’t hesitate to seek professional advice or look up more information—you’re not alone in this!