Imagine being in the great outdoors, soaking up the sun, and what if you could use that sunshine to power your devices? Sound too good to be true? Well, it’s possible with a DIY portable solar panel stand. This renewable source of energy not only adds an eco-friendly approach to your life but also can provide you independent power during camping trips or even support off-grid living.
Creating your very own solar panel stand is more than just an interesting DIY project—it’s your personal step towards sustainability. It’s a simple, cost-effective way of harnessing solar power wherever you go. This easy-to-build, lightweight gadget can be customized as per your needs and is perfectly portable.
Here’s What You’ll Discover:
- Practical tips on how to build a portable solar panel stand
- Cost-effective methods for harnessing solar power
- Insights into renewable energy and its applications
- Fun ideas for outdoor activities involving environmental sustainability
- Ways to embrace off-grid living with this convenient gadget
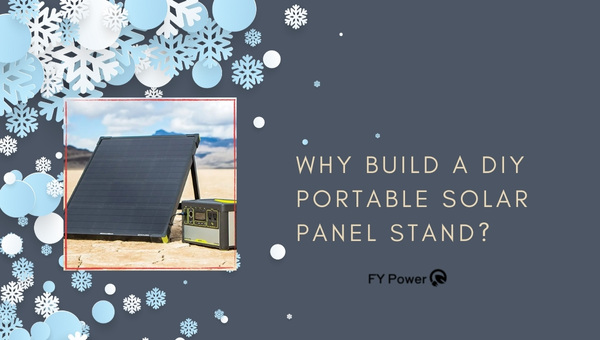
Why Build a DIY Portable Solar Panel Stand?
If you’re wondering why someone would want to build their own DIY portable solar panel stand, trust me, you aren’t the only one.

At first glance, it might seem like unnecessary work—won’t the panels sit on a roof or any sturdy surface? However, once you factor in flexibility, cost-effectiveness, and portability— things start to shift into focus.
First and foremost, let’s discuss cost-effectiveness. As most of us know solar energy is an excellent source of renewable power but setting up a full-fledged solar system can set us back a substantial amount Here’s how you can save on electric power.
In contrast to the high costs of professional installations, there’s me making my own DIY portable solar panel stand and utilizing everyday materials, like PVC pipes which you might even have lying around your house already made this project low in cost. Having control over what materials are used also means I have to make sure they are durable and built to last!
Secondly is portability. This was particularly important for me as I love outdoor activities such as camping or just lounging by the beach! A regular solar setup locked onto your rooftop wouldn’t exactly be road-trip friendly, would it? With my DIY portable solar panel stand, I have energy wherever I go without compromising too much luggage space.
Lastly comes flexibility. The use of lightweight materials and simple connections allows for easy adjustments which means at any point if I need more sun exposure for my panels—I’ve got it covered! Furthermore, I am not limited by any building regulations giving myself total freedom over design choices because these choices belong only to me my good friend!
Also Read: How To Change Spark Plug On Your Generator
Essential Supplies and Equipment You Required
Constructing a DIY portable solar panel stand requires a list of specific materials and tools. Gathering these necessary items is the first step towards successfully completing your project.
List of Materials Required
First off, we’ll need several types of PVC components to create the structure for our DIY solar panel stand. These are relatively low-cost materials that you should easily find at your local hardware store.
- PVC Pipes: These form the bulk of the structure. The size should depend on your specific needs but usually, 2-inch diameter pipes work well for most portable solar panels.
- PVC Knee/Elbow Joints: We’ll use these to connect different PVC pipes at right angles, creating a sturdy and flexible frame.
- PVC Tee Joints: The tee joints play a crucial role in providing additional support to our stand’s overall structure.
- Self-drilling Screws: To secure all joint connections tightly, we’ll need some self-drilling screws. Always go for rust-resistant screws to ensure durability in different weather situations.
Make sure you get slightly more material than you first calculate – it never hurts to have some extra in case of mistakes or last-minute changes!
Necessary Tools
Apart from materials, we obviously require certain tools to carry out our project efficiently.
- Tape Measure: Accurate measurements are vital in ensuring that our solar panel stand fits perfectly with our portable solar panels.
- Marker: We will use this to mark our measurement points on the PVC pipe before cutting.
- Saw: A basic saw will allow us to cut through the PVC pipes according to our measurements. Make sure your saw is sharp enough for a clean cut.
- Drill with screwdriver bit: This is for prepping our PVC joints and driving in our self-drilling screws.
Now that you have a clear idea of the tools and materials required, you’re one step closer to reaping all those benefits of solar power with your very own DIY solar panel stand.
Also Read: Tilt Angle for Solar Panels: Optimize Beyond Latitude!
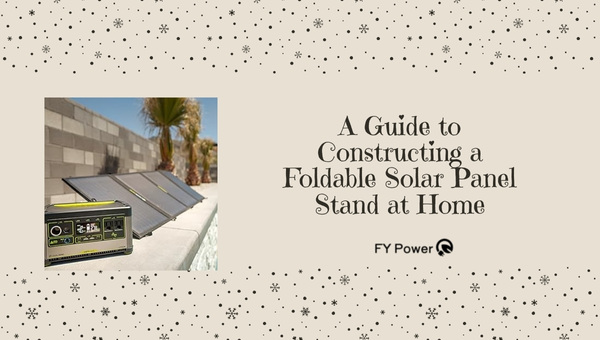
A Guide to Constructing a Foldable Solar Panel Stand at Home
Creating a DIY foldable solar panel stand is an affordable and clever way to harness power while on the move. It involves designing a sturdy yet collapsible structure using materials like PVC pipes for easy assembly and transportation.

Understanding the Stand Design
Before I pick up any tools, I take time to think about my design. I want a solar panel stand that’s easy to move and set up anywhere. So, it must fold up nicely and be light enough to carry.
Here’s how I imagine it:
- The Base: This is what the solar panel will sit on. It should be wide enough to make sure the stand doesn’t fall over.
- Support Beams: These are like arms that reach out from the base to hold the panel at an angle. They need to be strong because they carry all the weight.
- Hinges or Joints: They will let me fold the stand flat when it’s time to pack up.
I draw these parts on paper so they’re clear in my head.
Measuring Dimensions
Now, it’s time for some measuring work:
- Finding Gaps: To make sure my frame fits just right, I first look at my solar panel and measure any gaps on its edges—where the structure of my DIY stand will hold onto it.
- Pencil-Marking Panels: With a marker or pencil, I mark where these measurements would land on my PVC pipe.
- Figuring Out Lengths:
- The base length should be a bit shorter than the solar panel width.
- Support beams depend on how tilted I want my panel while catching sun rays.
I double-check everything because if I cut wrong, there’s no going back.
Cutting and Connecting PVC Components
Here comes the part where things start taking shape:
- Cutting It Right: Following marks made earlier, I slice through PVC pipes with a saw carefully, making sure each piece is smooth-ended so they fit together well.
- Fitting Pieces Together:
- Use tee and elbow joints for corners and intersections — this helps create our base frame and supporting structure.
- Secure everything with self-drilling screws so they don’t come loose.
As each piece snaps into place, it feels like solving a puzzle—each piece bringing me closer to harnessing that sweet solar power!
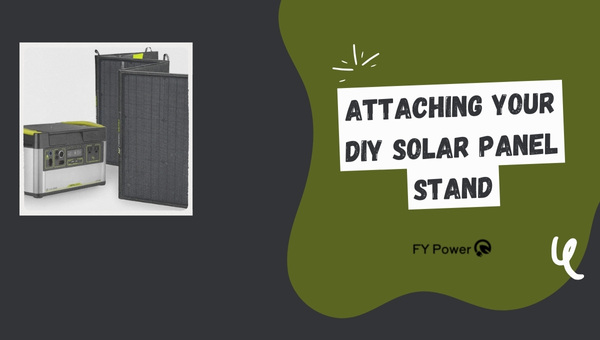
Attaching Your DIY Solar Panel Stand
Once you have all the pieces of your solar panel stand put together, it’s time to attach it to the actual solar panel. This bit is crucial because your stand must hold the panel securely, especially if you are taking it out and about.

How Does it Fit?
To make sure that your DIY solar panel stand fits properly, follow these simple steps:
- Lay your solar panel face down on a soft surface to prevent scratching.
- Position the stand over the back of the solar panel.
- Check if all corners are flush with each edge — no part should overhang.
- Make sure that the air aligns well with any pre-drilled mounting holes on the solar panel’s frame.
- If your mood has clamps or brackets, tighten them gently to secure them without damaging the structure.
Testing Your Creation
After successfully attaching the stand, do these checks:
- Lift carefully to see if there’s any wobble or looseness – address any issues found.
- Once stable, use a solar angle calculator—this will help you determine what angle is best for catching sunlight efficiently.
- Adjust the legs of your DIY portable solar panel so that they match this ideal tilt angle.
- Finally, take your setup outside and position it in direct sunlight for a trial run.
Further Exploration
After you’ve mastered your DIY Portable Solar Panel Stand, why stop there? There’s a whole world of solar DIY adventures awaiting. Imagine bringing more light into your night by hooking up LED strip lights to your solar setup.
Or, enhance the practicality of your renewable energy system by designing wall mounts for easy access and space-saving in your home.
Enhancing your Solar Power Experience
Building a DIY portable solar panel stand is just the beginning. Here are some creative ways to take your solar power experience to the next level:
- Add LED Strip Lights: With your portable solar panel already set up, you can easily connect LED strip lights for additional lighting—perfect for those evenings outside or in a shed.
- Create Wall Mounts: Free up floor space and keep your panels out of harm’s way by mounting them on the wall with brackets you design yourself.
- Solar-Powered Gadgets: Try powering small gadgets with solar energy for educational fun and practical uses in and around the house.
- Solar Charging Station: Build a station where all family members can charge their devices using only the sun’s power—goodbye, electric bill spikes!
- Share Your Knowledge: Teach others how to make their own stands, enhancing both community sustainability and individual independence from grid power.
Also Read: DIY Solar Charger: Create 12V Battery Power in 5 Steps
FAQs
How durable is this DIY portable solar panel stand?
My DIY portable solar panel stand is quite sturdy. If you assemble it well and use quality materials, it can last through many outdoor adventures.
Can I adjust the dimensions based on my requirements?
Yes, you can tailor the dimensions to fit your specific solar panel or space needs. The design is flexible.
What can I do if my current Solar Panel width doesn’t match the given measurement specifications?
You can measure your solar panel and adjust the cut lengths of PVC pipes accordingly to ensure a good fit.
Conclusion
I am quite ecstatic to see the effectiveness of my DIY portable solar panel stand. The joy of harnessing solar power while partaking in outdoor activities is unparalleled.
With this DIY project, not only did I promote sustainability and off-grid living, but also developed an eco-friendly solution at a very minimal cost. This portable solution ensures maximum sun exposure, reducing dependence on non-renewable energy sources.
Key Takeaway Points:
- Creating a portable solar panel stand is not only cost-effective but also promotes renewable energy.
- It allows flexibility to carry around for camping or any off-grid living scenario.
- Understanding the measurement details is crucial for perfect assembly
- Testing before finally using assures optimum usage and experience
- This project opens up avenues for further DIY projects enhancing the outdoor experience.

